Wholesale prices direct from the exporter

Questions and Answers
One of the most frequently asked questions ...
5 min read
Here is the answer to one of the questions we technicians ask ourselves every day.
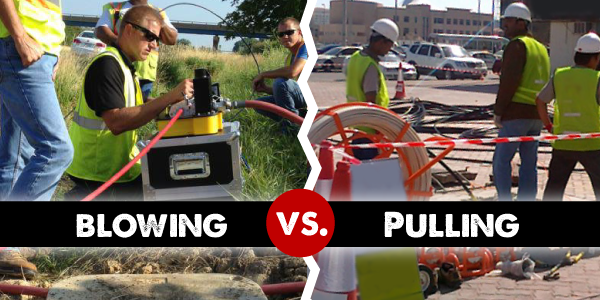
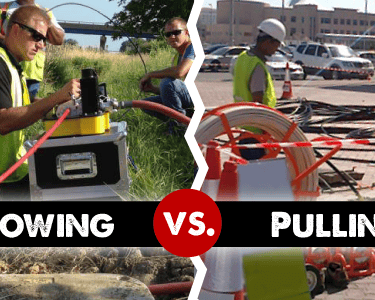
Fibre Installation – Pulling cables or blowing cables
Micro-cables and micro-ducts are becoming increasingly common, so cables are blown into the ducts rather than pulled.
Micro-cables now include cables with more fibres, making them the choice for most installations.
Micro-ducts are easier to install, even in currently used conduits, and easy to include in multiple conduits for future expansion.
Micro-ducts are not just intended for the creation of micro-trenches. Their small dimensions allow for the installation of multiple conduits where a single standard conduit would normally be laid, simplifying the ‘Dig Once’ policy (installing extra conduits whenever underground construction work is carried out).
Fibre pulling: Am I doing it correctly?
Fibre pulling begins with inspecting the conduit and preparing for the installation of the guide. Testing the conduit removes any obstructions that could damage the fibre or hinder the pulling process. There should be at least one person on the pulling side operating the equipment and one or two people on the opposite side to remove the fibre from the reel and feed it into the conduit. On side A, where the fibre installation process begins, a duct rodder (guide) is used to push the fibre all the way to side B to test the duct. If it encounters an obstruction (or several obstructions), this must be removed before pulling can continue. On side B, the pull tape is attached to the rodder, which is then pulled back towards side A. Pull tape is available in a range of strengths, and the type to be used is determined by the fibre. Some conduits come with pre-installed pull tape, saving this step, but it is always advisable to test the passage before installing the fibre.
On side A, the pull tape is then attached to the fibre optic cable. You may choose to use a pull grip on the fibre for a stronger hold. The fibre/pull grip is attached to the pull tape on side A using a joint so that each can move independently and to prevent twisting that could cause damage. It is important to note that the pulling force must not exceed the fibre manufacturer’s tensile load limit, as this may compromise the fibre and its service life.
There are then several ways to start pulling the fibre through the conduit to side B. If the route is sufficiently short and straight, this can be done manually by hand. However, most fibre pullers are too long to be pulled by hand. This is when it is necessary to use a winch and a winch drum, mounted on the ground or on a trailer, with a hydraulic power unit and a foot pedal. Regardless of the method used to pull the fibre, pulling lubricant should always be used to reduce friction. Once the fibre has been pulled through the conduit, it is recommended that you cut off a large section (around 3 metres for a long run) from the end that was attached to the pulling tape. This will remove any fibre that may have been stretched or damaged during the pulling process.
If you are pulling over a longer distance, you may need to use an additional fibre puller at intermediate points.
One advantage of using a puller is that the winch wheel can pull fibres of different sizes. Thus, whilst the strength of the pull tape depends on the size of the fibre, the winch wheel does not and can be used for various fibre sizes. However, using a larger wheel can help increase its speed and extraction efficiency. The pull tape is also excellent for jobs where space to install the equipment is limited, as it takes up less space.
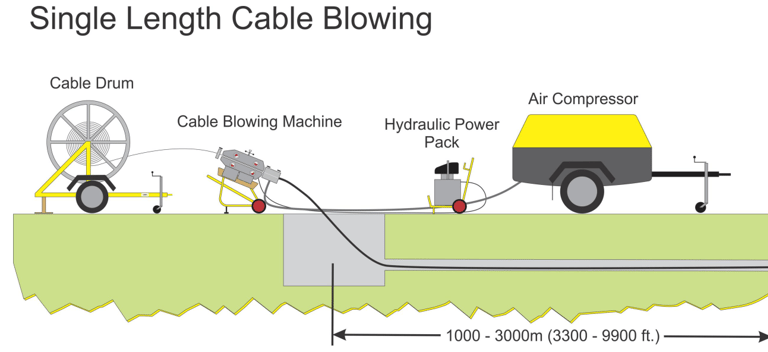
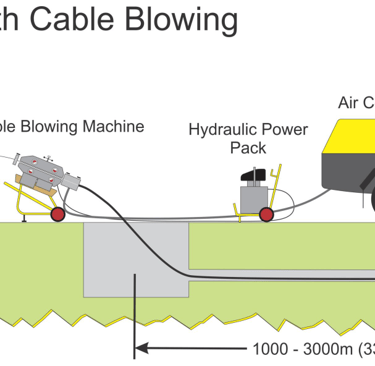
Blow Molding
Fibre blowing begins with the installation and setup of the blowing machine. The blower must be correctly configured for the fibre and duct sizes; these components will vary depending on the fibre diameter and duct size. Ensure you have the correct clamps, ties, plugs and seals to hand before starting the setup. A hydraulic power unit and an air compressor will also need to be set up with your blowing machine. Once the equipment is ready, check the duct by blowing a duct projectile or a sponge through the duct passage to remove any debris or obstructions
.
Photo Credit: GMP
Before you start blowing fibre, you may also want to carry out a collision test to check the integrity of the duct. This is particularly important if you are starting to blow fibre or if you have a new machine. To carry out a collision test, insert an object – which could be a small amount of fibre – into the duct to simulate what would happen if the fibre collided with an obstacle whilst being blown. The test is useful for seeing how the machine reacts and what to look for on the indicators if an object is struck. Pay attention to see if the air pressure increases or if the fibre slows down. It is recommended that you carry out a collision test at least a few times whilst learning how to install blown fibre. An experienced team may not need to carry out this step if they already know what to look for on their machine when the fibre hits an obstruction inside the duct.
Once your duct has been tested and the impact test has been carried out, you can begin preparing your fibre. A cable clamp must be attached to the end of the fibre, along with a carrier or parachute, sized appropriately. This allows the compressed air to push the parachute through the duct whilst the carrier pulls the secured fibre. Blow lubricant must be applied to the duct opening before the fibre enters, as well as to the fibre as it enters the duct. Once the fibre is properly prepared, it must be pushed into the duct for a few hundred metres using the machine’s feed mechanism without the air compressor being switched on. At least one person is required to monitor the machine and the pressure gauges to check that they are functioning correctly, and a second person to monitor the fibre to ensure it is feeding off the reel correctly and to receive it when it is nearing the end of the run. Once you have made sure that the machine is running smoothly and that the fibre is a few hundred metres in, the air compressor should be switched on for the rest of the installation. An experienced team can blow about 2–3 miles of fibre in a few hours.
Blown fibre has many advantages. Although it may take longer to set up initially, installation is quicker. Furthermore, the cable can be laid over several thousand metres in a single pass, making it highly efficient. This means there are fewer connection points along the route and, consequently, less time is spent on setup. It is also possible to install auxiliary blowers at medium distances to cover even greater distances. Blowing also places less stress on the fibre, resulting in a lower likelihood of damaging the fibre, and is the preferred method if the duct has numerous bends and undulations. It is also possible to blow excess cable, which means blowing more fibre into an already occupied duct, as there is a lower likelihood of friction since the cable floats in the air. Blowing is also the method recommended for installation by MicroTechnologies.
So, what is the best method?
Both methods of installing fibre-optic cables have their pros and cons. It is important to choose the right method based on the specific installation job. For shorter distances and jobs where space is limited, we recommend using the pulling method. For longer distances and more efficient installations, we recommend fibre blowing.
Traduzido com a versão gratuita do tradutor - DeepL.com